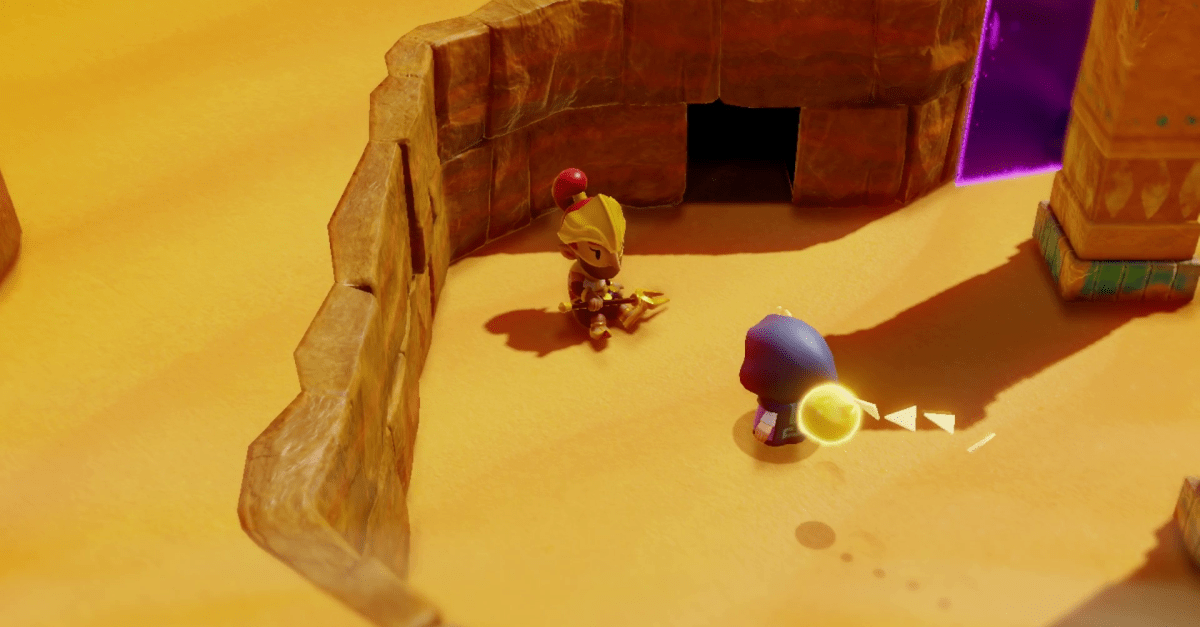
The Cryptic Cavern is a mini-dungeon in The Legend of Zelda: Echoes of Wisdom, and you’ll find it in the Gerudo Desert while working on the “A Rift in the Gerudo Desert” quest. You’ll need to complete the Cryptic Cavern to drain the sand that’s blocking the Gerudo Sanctum.
In this The Legend of Zelda: Echoes of Wisdom guide, we’ll walk you through how to complete the Cryptic Cavern so you can continue along on your adventure to save Link and all of Hyrule.
When you first enter Cryptic Cavern, you’ll be in a small room with a closed gate. On the left side of the screen, you’ll see a switch. Use any ranged or floating echo, like a tornando, to hit it from a distance and the gate will open.
The second room in Cryptic Cavern is the junction that leads to the rest of the mini-dungeon. The left path has a locked gate for now, the middle path has two air cannons shooting to the sides, and the right path has a single air cannon blowing against the only path.
Go to the middle path and use a heavy echo, like a boulder, to block the air cannons so you can walk by unharmed. Go through the door at the end of the path.
The next room is filled with pathblades. You can kill these things with a flying echo like the crow, and it’s especially easy if you Bind with the enemy first — you’ll also earn the Pathblade Echo when you kill one. However, you can also get by these by dropping boulders in front of them and just sliding by.
Slowly and carefully make your way past all the pathblades until you reach the blue switch up top. Hit it with another echo like you did in room #1. This will spawn a chest on the other side of the room.
Return to where you entered room #3 and take the ramp on the right. This will drop you next to two gibdo and the chest you made appear earlier. Defeat the gibdo if you’d like, or just grab the small key out of the chest and run. You can use a tornando to blow apart the sand mountain on the left side of the screen, which houses a blue rupee.
When you’re ready, go through the southern door.
You’ll now be in a small room with two scorpions and a bunch of sand piles (which have rupees in them, if you blow them apart). Summon a powerful echo if you have one or just use an army of crows to take out the scorpions. Once they’re dead, the doors will open.
Take the left path back to room #2, and use a boulder to block the wind cannon. Take the key you got in room #3 and open the far left door. Go down the ladder once you’re through.
Room #5 is a 2D zone. On your right from where you land, you’ll find a gate that has a switch behind it. Ignore it for now and go down the ladder to your left. Kill or block the pathblade when you land and use a bed or trampoline to get over the hump in the middle of the platform. Drop down the ladder ahead and jump the gap to the area with another pathblade. Get past it and break the pot for a fairy.
Drop down to the lower area where there’s a long gap and a pathblade below. Target the pathblade, Bind to it, and then use Reverse Bind when it dashes to the side. It’ll carry you over to a chest, which houses a red rupee.
Room #6 is a continuation of the 2D zone and is filled with more pathblades. Use a tornando to blow through the sand piles — unblocking the path — and then defeat or move past the pathblade. On the second floor, use a tornando to blow the pile away but don’t defeat the pathblade.
Go up to the third floor, use a tornando to blow the sand mountain away on the other side, Bind to the pathblade below while it’s past you to the right, and then use Reverse Bind as it dashes to the left. This will carry you to the door (and another pathblade, so be careful).
If you destroyed the second floor pathblade, either make a Pathblade Echo on the second floor or move the third floor pathblade down using Bind.
Climb the ladder from room #6 to room #7. Here you’ll encounter a powered-up gibdo. Use the most powerful echo you have (or Swordfighter form) to destroy it, which will drop the lvl 2 Gibdo Echo for you.
Take the path to the left to go back to room #5 and hit the switch behind the gate. Then return to room #7 and head out the door to your right.
In room #8, you’ll find what’s essentially just a large handle attached to a block that’s sitting under a mountain of sand. Bind to the block and pull backward toward the door. Eventually, you’ll move it to the left and free the sand above. This will reveal a new area — the Gerudo Sanctum — in the Gerudo desert. Either make your way out of the Cryptic Cavern the normal way or open your map and warp out.
Go to where you just cleared the sand and enter the Gerudo Sanctum to continue your quest.


Comments are closed